背景
之前的 Blog 用的是 Hexo + Fluid 搭建的,个人感觉不太好看,而且对 Markdown 公式支持的不友好。所以趁着空闲时间萌生了换一个的想法。网上一顿搜索之后,看到了 docusaurus。之前也有使用过,所以就决定以这个为文档框架,本来想自己改一些前端样式,但是想想太费事了,不如找个现成的,于是,找到了 @Kuizuo 大佬魔改的 docusaurus 样式主题。直接套壳 cv 了。
原样式如下:
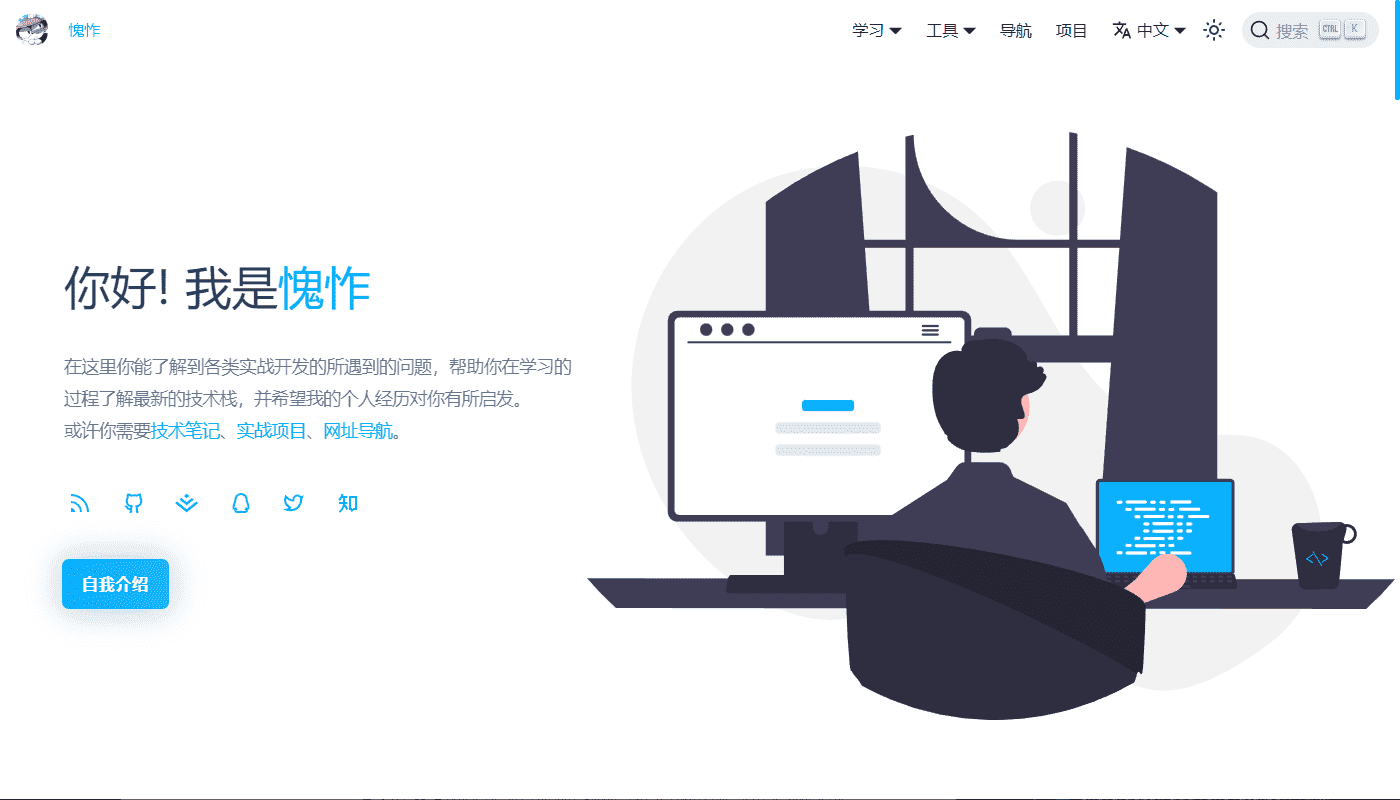
看着效果比我之前的好多了。
重构参考
大部分的步骤都可以 kuizuo 大佬的 https://kuizuo.cn/docs/docusaurus-guides 文档。
描述下我做的修改:
makefile
原项目中是没有 makefile 的,我加了一些 makefile 命令,给 github action 使用同时也方便自己:
$ make help
Usage:
  make <Target>

Targets:

Common
  install          Install the dependencies.

Docs
  preview          Start the Docusaurus server in preview mode.
  build            Build the Docusaurus site.
  serve            Start Docusaurus site with server mode.

Linter
  markdown         Lint Check the markdown files.
  markdown-fix     Lint Check the markdown files and fix them.
  yamllint         Lint Check the yaml files.
  codespell        Lint Check the codespell.
  checklinks       Check for broken links in the docs
  pnpm-lint        Lint Check the pnpm files.
加入了对 yaml 和 markdown 格式的检测,等等,虽然 docusaurus 也有,但外置的可控性更高一些。同时也是我熟悉的方式。
对其中组件修改
对组件没有做过多修改,只改了些组件显示效果和加了一些组件。
文档迁移
cv 和挨个加标签。🤣
Github Action
加了使用 github pages 部署和对项目代码检测的 workflows。yaml 如下:
name: Deploy

on:
  pull_request:
    branches:
    - "main"
  push:
    branches:
    - "main"

concurrency:
  group: ${{ github.workflow }}-${{ github.ref }}
  cancel-in-progress: true

jobs:
  build-and-deploy:
    runs-on: ${{ matrix.os }}
    needs: [lint-check]

    strategy:
      matrix:
        os: [ubuntu-latest]
        node-version: [20.x]

    steps:
      - uses: actions/checkout@11bd71901bbe5b1630ceea73d27597364c9af683  # v4.2.2
      - uses: ./tools/github-actions/setup-deps

      - name: Install dependencies
        run: pnpm install

      - name: Build
        run: pnpm build

      - name: Deploy to GitHub Pages
        uses: peaceiris/actions-gh-pages@v3
        with:
          github_token: ${{ secrets.BLOG_DEPLOY_TOKEN }}
          publish_dir: ./build

  lint-check:

    name: Lint
    runs-on: ubuntu-latest

    strategy:
      matrix:
        node-version: [20.x]

    steps:
      - uses: actions/checkout@11bd71901bbe5b1630ceea73d27597364c9af683  # v4.2.2
      - uses: ./tools/github-actions/setup-deps
      - uses: actions/setup-python@v5

      - name: Checkout LFS objects
        run: git lfs checkout

      - name: Install tools
        run: make install-tools

      - name: Install dependencies
        run: pnpm install

      - name: Run Pnpm Lint
        run: make pnpm-lint

      - name: Run Markdown Lint
        run: make markdown

      - name: Run Yaml Lint
        run: make yamllint

      - name: Run CodeSpell Lint
        run: make codespell
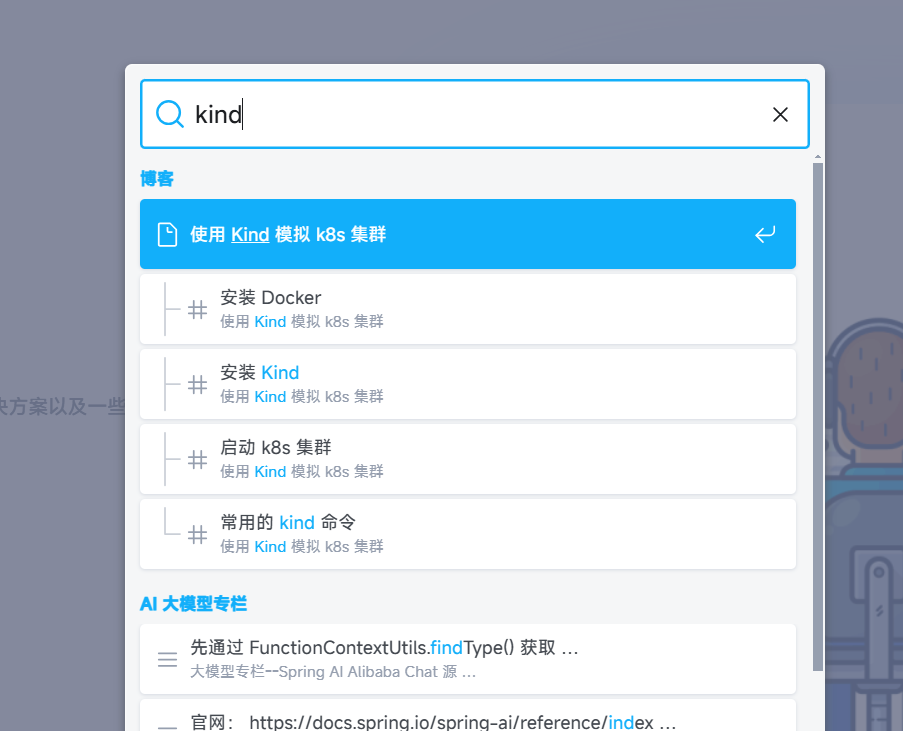
添加搜索功能
参考:https://kuizuo.cn/docs/docusaurus-search
-
申请 https://www.algolia.com/ 账号;
-
在右上角点击,使用 google 账号登陆之后;
-
跳过引导步骤;
-
到达欢迎页面之后,可以看到 Application ID 和 Search API Key(一定要是 Search);
-
将 id 和 key 填入 docusaurus 配置中;
themeConfig: {
    algolia: {
      apiKey: "xxxxxxxxxxx",
      appId: "xxxxxxxxxxx",
      indexName: "yuluo",
    },
}
- 创建 github action 文件,在提交代码时触发爬虫操作:
algolia-docsearch:
  runs-on: ubuntu-latest
  needs: [lint-check, build-and-deploy]

  steps:
    - uses: actions/checkout@11bd71901bbe5b1630ceea73d27597364c9af683  # v4.2.2

    - name: Get the content of docsearch.json as config
      id: algolia_config
      run: echo "::set-output name=config::$(cat docsearch.json | jq -r tostring)"

    - name: Run algolia/docsearch-scraper image
      env:
        ALGOLIA_APP_ID: ${{ secrets.ALGOLIA_APP_ID }}
        ALGOLIA_API_KEY: ${{ secrets.ALGOLIA_API_KEY }}
        CONFIG: ${{ steps.algolia_config.outputs.config }}
      run: |
        docker run \
          --env APPLICATION_ID=${ALGOLIA_APP_ID} \
          --env API_KEY=${ALGOLIA_API_KEY} \
          --env "CONFIG=${CONFIG}" \
          algolia/docsearch-scraper
-
在 github 仓库设置 action secrets 参数;注意此时的 API_KEY 为 Write API Key!
-
提交代码,触发爬虫 ci,等待查看效果。
-
搜索验证
Todo
- 加入日期显示的 html 样式;
- 使用绘制 svg 形式的 logo;
- 完善搜索功能;
更多功能开发中...