需求背景
甲方用户设备保修,乙方员工根据设备维护需要,在维护完成之后,在 Excel 维修任务文件上对检查维修的项目进行打勾,最后在下面输入一些备注信息。
调研
- 研究了 XLSX 等其他库,均不能完全实现需求,或是 API 太难用,或是样式显示有问题,Excel 文件中有图片,显示不全等等。最后在 Univer 和 LuckySheet 上研究。
- Univer 文档并不是很全面**(是我太菜了,看不懂😭)**,怎么将数据导入到 Univer 中,在 UI 上显示。都不是很好实现,看文档,需要借助他们的后端服务等等,最后没能实现。相关 discussion:https://github.com/dream-num/univer/discussions/3425 。结论问题并没有解决,因为我换了 LuckySheet。🤣
- LuckySheet 是Univer 的前身,不同的是 Univer 支持 Word Excel PPT 三种,前者只支持一种。完全实现了我的需求。
实操
我的解决方案是:在后端将 Excel 模板文件传给前端,前端作展示和编辑、。之后乙方维护人员完成 Excel 文件编辑。再传给后端和工单进行绑定。
初始化项目
我使用的是 Vue3 + Vite + LuckySheet。
准备 LuckySheet
参考:https://blog.csdn.net/m0_59415345/article/details/136749058
在项目中 引入 LuckySheet 有两种方式:
通过 CDN 引入
直接在项目的 index.html 文件中引入 CDN 配置即可
<link rel='stylesheet' href='https://cdn.jsdelivr.net/npm/luckysheet/dist/plugins/css/pluginsCss.css' />
<link rel='stylesheet' href='https://cdn.jsdelivr.net/npm/luckysheet/dist/plugins/plugins.css' />
<link rel='stylesheet' href='https://cdn.jsdelivr.net/npm/luckysheet/dist/css/luckysheet.css' />
<link rel='stylesheet' href='https://cdn.jsdelivr.net/npm/luckysheet/dist/assets/iconfont/iconfont.css' />
<script src="https://cdn.jsdelivr.net/npm/luckysheet/dist/plugins/js/plugin.js"></script>
<script src="https://cdn.jsdelivr.net/npm/luckysheet/dist/luckysheet.umd.js"></script>
本地打包之后引入
本地引入是将 CDN 需要的文件在本地打包之后在引入,避免网络请求。
-
拉取代码
git clone https://github.com/dream-num/Luckysheet.git -
构建
# 按照依赖
npm install
npm install gulp -g -
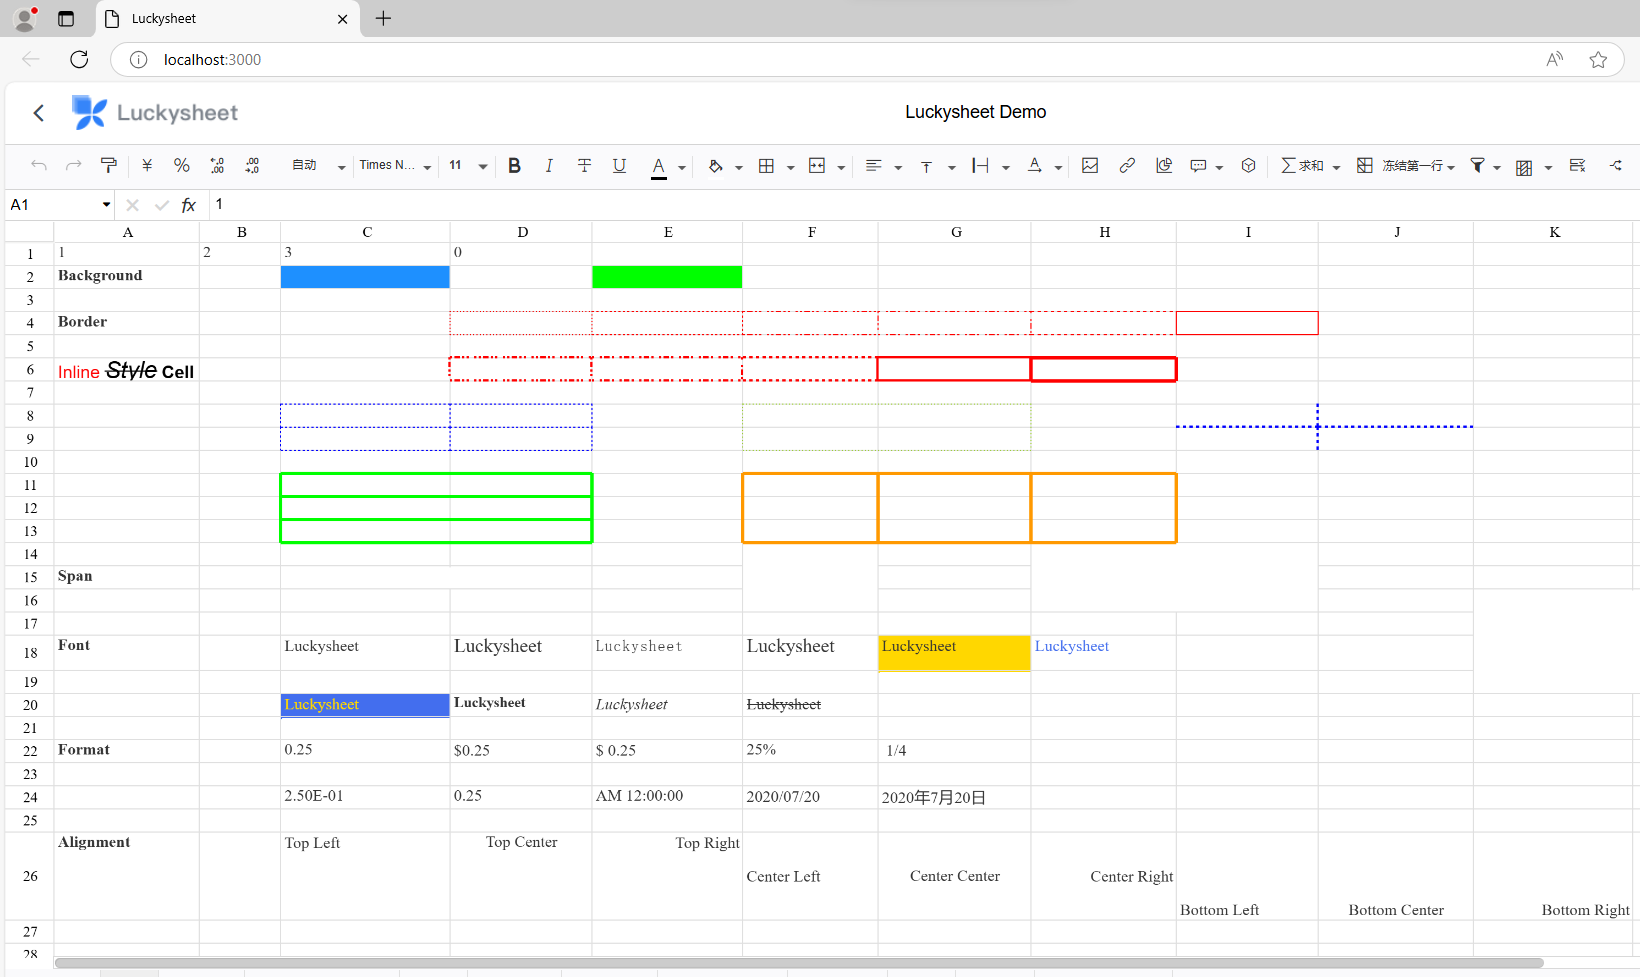
启动预览
npm run dev可以在浏览器中看到如下页面:
-
打包
npm run build之后将 dist 中的文件全部复制到项目的 public 文件中,**可以根据需要复制到不同位置,在引入时,注意路径即可。**不需要引入
index.html。
项目使用
这部分 CDN 引入和本地引入区别不大。只需要注意路径即可:
<!-- CDN 引入 -->
<link rel='stylesheet' href='https://cdn.jsdelivr.net/npm/luckysheet/dist/plugins/css/pluginsCss.css' />
<link rel='stylesheet' href='https://cdn.jsdelivr.net/npm/luckysheet/dist/plugins/plugins.css' />
<link rel='stylesheet' href='https://cdn.jsdelivr.net/npm/luckysheet/dist/css/luckysheet.css' />
<link rel='stylesheet' href='https://cdn.jsdelivr.net/npm/luckysheet/dist/assets/iconfont/iconfont.css' />
<script src="https://cdn.jsdelivr.net/npm/luckysheet/dist/plugins/js/plugin.js"></script>
<script src="https://cdn.jsdelivr.net/npm/luckysheet/dist/luckysheet.umd.js"></script>

<!-- 本地构建之后引入 -->
<link rel='stylesheet' href='./public/plugins/css/pluginsCss.css' />
<link rel='stylesheet' href='./public/plugins/plugins.css' />
<link rel='stylesheet' href='./public/css/luckysheet.css' />
<link rel='stylesheet' href='./public/assets/iconfont/iconfont.css' />
<script src="./public/plugins/js/plugin.js"></script>
<script src="./public/luckysheet.umd.js"></script>

<!-- 注意路径不同 -->
项目页面
在初始化好的 Vite 项目中 App.vue 中写入如下代码:
注意需要安装 luckysheet。不然会报错!!!
npm i luckysheet
<template>
  <div class="upload">
    <input id="uploadBtn" type="file" @change="loadExcel" />
  </div>
  <div id="luckysheet" class="luckysheet"></div>
</template>

<script lang="ts" setup>
import { onMounted } from "vue"
import LuckyExcel from 'luckyexcel'
import axios from 'axios';

onMounted(() => {
  //如果这里luckysheet.create报错
  //请使用 window.luckysheet.create
  luckysheet.create({
    container: 'luckysheet'//这里需要和容器的id名称一致
  })

  // 从后端接口获取 excel 文件使用
  loadExcel()
})

// 按钮上传使用,注意区分
// const loadExcel = (evt) => {
//   const files = evt.target.files
//   if (files == null || files.length == 0) {
//     alert('请上传文件')
//     return
//   }

//   let name = files[0].name
//   let suffixArr = name.split('.'),
//     suffix = suffixArr[suffixArr.length - 1]
//   if (suffix != 'xlsx' && suffix != "xls") {
//     alert('只能导入xlsx文件格式的Excel')
//     return
//   }
//   LuckyExcel.transformExcelToLucky(files[0], function (exportJson, luckysheetfile) {
//     if (exportJson.sheets == null || exportJson.sheets.length == 0) {
//       alert('导入失败!')
//       return
//     }
//     window.luckysheet.destroy()
//     window.luckysheet.create({
//       container: 'luckysheet', //容器的Id
//       showinfobar: false,
//       data: exportJson.sheets,
//       title: exportJson.info.name,
//       userInfo: exportJson.info.name.creator
//     })
//   })
// }

const loadExcel = async () => {
  // 发送 POST 请求到后端以获取 Excel 文件
  try {
    // 接口地址
    const response = await axios.post('http://localhost:8080/api/v1/download/task', {
      // taskId: '922364778947073'
      taskId: '822364778947073'
      // taskId: '722364778947073'
      // taskId: '622364778947073'
    }, {
      headers: {
        'Content-Type': "application/json"
      },
      responseType: 'blob'
    }
    );

    // 将响应转换为 Blob
    // const blob = await response.blob();

    // 将 ArrayBuffer 转换为 Blob
    const blob = new Blob([response.data])

    const file = new File([blob], 'downloaded_file.xlsx', {
      type: 'application/vnd.openxmlformats-officedocument.spreadsheetml.sheet',
    });

    console.log(file);

    // // 创建一个临时的 URL
    // const url = URL.createObjectURL(file);

    // // 创建一个链接元素
    // const a = document.createElement('a');
    // a.href = url;
    // a.download = file.name; // 设置下载文件名

    // // 触发下载
    // document.body.appendChild(a);
    // a.click();

    // // 清理
    // document.body.removeChild(a);
    // URL.revokeObjectURL(url); // 释放内存

    LuckyExcel.transformExcelToLucky(file, function (exportJson, luckysheetfile) {
      if (exportJson.sheets == null || exportJson.sheets.length == 0) {
        alert('1221332, 导入失败!');
        return;
      }
      window.luckysheet.destroy();
      window.luckysheet.create({
        container: 'luckysheet', // 容器的Id
        showinfobar: false,
        data: exportJson.sheets,
        title: exportJson.info.name,
        userInfo: exportJson.info.name.creator,
      });
    });

  } catch (error) {
    alert(`导入失败: ${error.message}`);
  }
}

</script>

<style scoped>
.luckysheet {
  margin: 0;
  padding: 0;
  position: absolute;
  width: 100%;
  height: 100%;
  left: 0;
  top: 30px;
  /* 调整此值以向下移动 */
}

.upload {
  position: absolute;
  left: 0;
  top: 0;
  z-index: 10;
  /* 确保按钮在最上层 */
  background-color: white;
  /* 可选 */
  border: 1px solid #ccc;
  /* 可选 */
  padding: 5px;
  /* 可选 */
}
</style>
注意上述代码的区别,一个 LoadExcel 方法是上传使用,有参数。另外一个是 onMounted 使用,没有参数。如果从后端传递,注意修改接口地址。
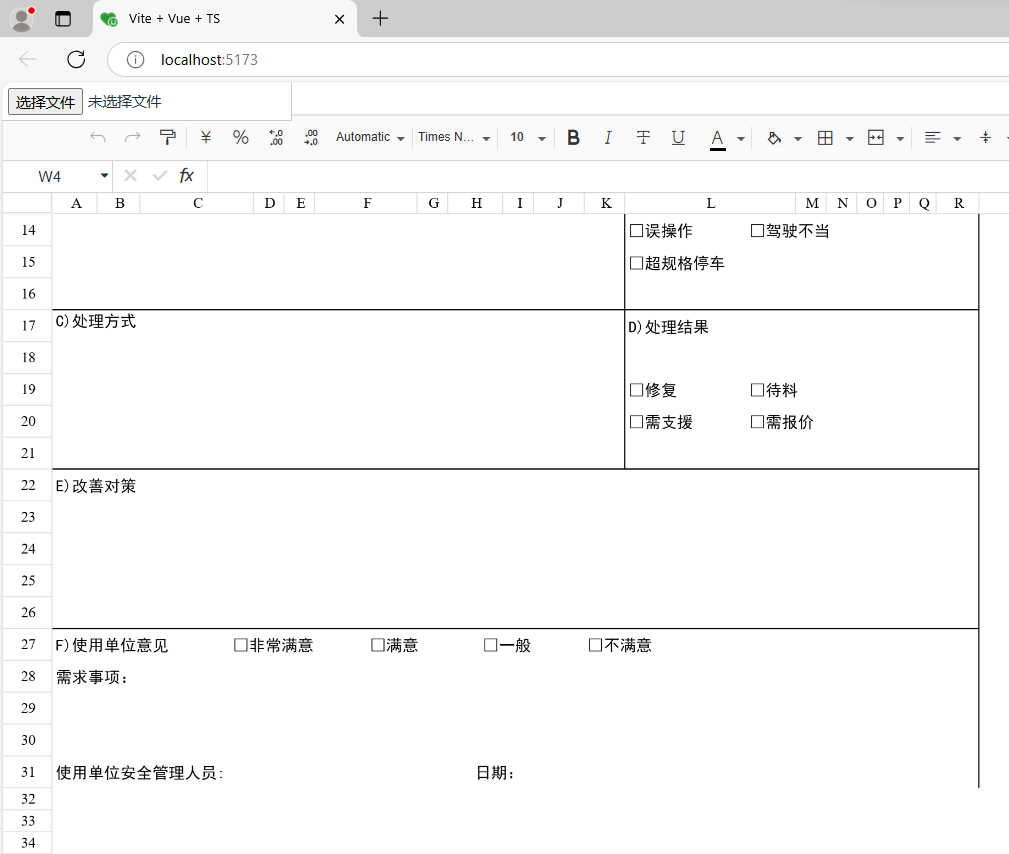
运行
最终效果如下:
仓库
相关代码和依赖已经放到:https://github.com/yuluo-yx/deigmata-paideias/tree/main/vue3-vite-lucksheet 中。